Running Form Drills by Weak Point
Let's face it — a generic list of drills won't fix your running form. Figure out your specific weak point first — overstriding, low cadence, or arm and upper-body tension are the three most common in beginners — then apply the drill matched to that weak point, and progress it over 4–6 weeks. Most beginners have more than one of these overlapping at once, and drills work fastest when you sequence them rather than trying to fix everything in the same week.I've coached beginner runners through exactly this process for over twenty years, and the biggest mistake I see is skipping the diagnosis step and going straight to a drill roster copied from somewhere else.
Self-Diagnose First: Matching Symptoms to Weak Points
Before you drill anything, work out what you're actually fixing. Here's a simple map from what you're feeling to the weak point behind it.| What You're Feeling | Likely Weak Point | Jump To |
|---|---|---|
| Shin or knee pain, plus a loud, heavy footstrike | Overstriding | Fix it |
| Feels like you're "running in place," a choppy, low stride rate | Low cadence | Fix it |
| Sore shoulders or neck, clenched fists after a run, arms crossing your body | Arm and upper-body tension | Fix it |
Here's the thing — beginners routinely misjudge their own form by feel alone. You might be sure you're not overstriding and be wrong about it. Self-filming is the most reliable way to confirm which weak point actually applies to you, so if you're not confident from the table above, confirm your weak point with a self-filmed video before committing to a drill plan.
If You Overstride: Cadence and "Scrape-Back" Drills
Overstriding means landing with your foot well ahead of your hips, heel-first, with a braking effect on every step. It's the single most common weak point I see in beginners, and it's also the one most linked to shin and knee niggles.The direct fix is a small cadence increase — 5–10% above your natural rate, not a jump straight to the often-quoted 170–180 steps-per-minute target. I'd rather you nudge your own number up gradually than force a fixed figure that ignores your own stride mechanics. Pair that with a "scrape-back" cue: instead of reaching your foot forward, think about pulling it back and down toward the ground at the point of contact.
The drill: short cadence-focused strides, 20–30 seconds each, at a slightly quicker turnover than feels normal. Do these once or twice a week, not on every run.
If you already have a history of runner's knee or shin splints, treat this section as a starting point rather than the whole answer — see how form advice changes if you have a history of runner's knee or shin splints before you start drilling.
If Your Cadence Is Low: Metronome and Fast-Feet Work
First, measure your natural cadence — count footfalls on one side for 30 seconds, then multiply by four. That's your baseline, and it's more useful than guessing.Once you have a number, a metronome app or a pre-made playlist set to a target BPM is the easiest practical tool for nudging cadence up gradually. Don't force a fixed number immediately — small, steady increases beat a sudden jump every time.
The drill: quick, light "fast feet" work — short, rapid ground contacts over 10–15 metres. Think of it as a rehearsal for the sensation of a quicker turnover, before you apply that sensation to a full run.
If You Carry Arm or Upper-Body Tension: Cues and Relaxation Drills
Tension shows up as clenched fists, shrugged shoulders, or arms crossing your body's midline. It costs you energy through wasted motion, and it can restrict your breathing too — a double cost for something that's easy to fix.The cue I use with runners I coach: loose hands, like you're holding a potato chip without breaking it. A shoulder-drop reset every few minutes works well alongside it.
The drill: relaxed-arm strides, where the only job is dropping your shoulders and unclenching your hands every 20 seconds — not fixing your cadence or your footstrike at the same time. One focus per drill.
The Standard Drill Roster: High Knees, Butt Kicks, A-Skips, B-Skips, Strides
Beyond the weak-point-specific work above, there's a baseline drill vocabulary worth knowing — general-purpose drills that support the work above rather than replace it.High knees train knee drive — 20–30 metres per rep, 2–3 reps, focusing on driving your knee up rather than covering ground quickly. Butt kicks activate your hamstrings and glutes — same rep scheme, heel kicking back toward your glutes. A-skips combine coordinated knee drive with a skipping rhythm, and B-skips add a leg extension and scrape on top of that — both worth 20–30m reps once your basic coordination feels solid. Strides — relaxed accelerations building to close to full speed over 20–30 seconds — tie the whole roster together into full-stride mechanics.
A simple protocol for any of these: 20–30 metres per rep, 2–3 reps, or 30 seconds on and 30 seconds off. These are general-purpose drills, not a substitute for the weak-point-specific work above — they support it.
Progressing Each Drill Over 4–6 Weeks
Here's the rough arc I take runners through, whichever weak point you're working on.Weeks 1–2: drill the movement in isolation, away from a run, so the pattern has a chance to bed in. Weeks 3–4: apply the cue during easy runs, for short stretches — the first five minutes, or specific intervals within the run. Weeks 5–6: the adjustment should start feeling automatic, without you having to consciously cue it any more.
So how do you know it's working? Look for symptom relief, not effort. Less soreness in the area that used to bother you, or being able to hold the cue for longer stretches without actively thinking about it, are the real markers. That's different from generic drill fatigue, which shows up as heavy legs rather than symptom relief — don't confuse the two.
When You Have More Than One Weak Point: Sequencing Your Work
If you've matched yourself to more than one weak point in the table above, don't try to fix all of them at once.Overstriding and low cadence are often the same underlying problem in disguise — fixing your cadence frequently resolves overstriding as a side effect. So if you have both, start with cadence work rather than treating them as two separate fixes. Arm tension, by contrast, is usually independent of the other two and can be worked on in parallel without conflict.
The sequencing rule I give runners I coach: fix one lower-body issue first — cadence or overstriding — since it carries the biggest injury-prevention payoff. Then layer in arm-tension cues once the lower-body cue feels automatic. Don't try to run three conscious cues at once; that's how none of them stick. As a coach, this is the order I'd insist on with any athlete carrying more than one issue.
Building Drills Into Your Weekly Routine
One or two dedicated drill sessions a week — a short add-on before an easy run — is enough for most beginners. Drilling before every run risks the fatigue bleeding into the run itself, which defeats the point.Once a cue becomes automatic, per the progression above, you can drop the frequency down to maintenance level: every 1–2 weeks is plenty to keep a bedded-in pattern from slipping.
Here's how that breaks down by phase:
Isolation (weeks 1–2): standalone drill session, 1–2x per week, no run attached.
Applied (weeks 3–4): cue practised during easy runs — the first 5 minutes, or specific intervals.
Automatic (weeks 5–6): the cue runs without conscious thought during normal runs.
Maintenance (ongoing): every 1–2 weeks, just to keep the pattern from slipping.
Frequently Asked Questions
Can overstriding and low cadence be the same underlying problem?
Yes, often — a modest cadence increase resolves overstriding as a side effect for a lot of runners, which is why the sequencing advice above starts with cadence.
Can drills alone fix overstriding, or do I also need to consciously change my stride during runs?
Drills build the movement pattern, but you still need to apply the cue consciously during easy runs for a few weeks before it becomes automatic.
What cue works best for remembering to relax my shoulders and hands mid-run?
A concrete physical image — holding a potato chip without breaking it — paired with a shoulder-drop check every few minutes.
How do I know if a drill is actually working versus just tiring me out?
Look for symptom relief — less soreness, holding the cue for longer without thinking about it — rather than muscular fatigue, which is a separate signal entirely.
Can bad form habits from years of running actually be retrained?
Yes, though it takes longer than it would for a beginner — expect a longer version of the same 4–6 week arc, with more repetitions needed to override a well-established pattern.
So: diagnose your weak point before you drill anything, match the drill to that weak point, and give it 4–6 weeks to become automatic. If you've got more than one issue, fix cadence or overstriding first and layer arm-tension cues in afterwards — not all three at once.
One weak point, one drill, one sequence. That's the whole approach.
Some Other Pages You May Like
About the author

Dominique de Rooij (Dom)
Advanced Running Coach certified by Athletics Australia with 20 years of writing about running and over a decade coaching runners — from first-timers to marathoners. Dom's beginner programs have guided thousands of runners and been praised above plans from Jeff Galloway, Hal Higdon, and Runner's World. Now over 50, Dom still loves trail running, parkrun, and the coffee after.
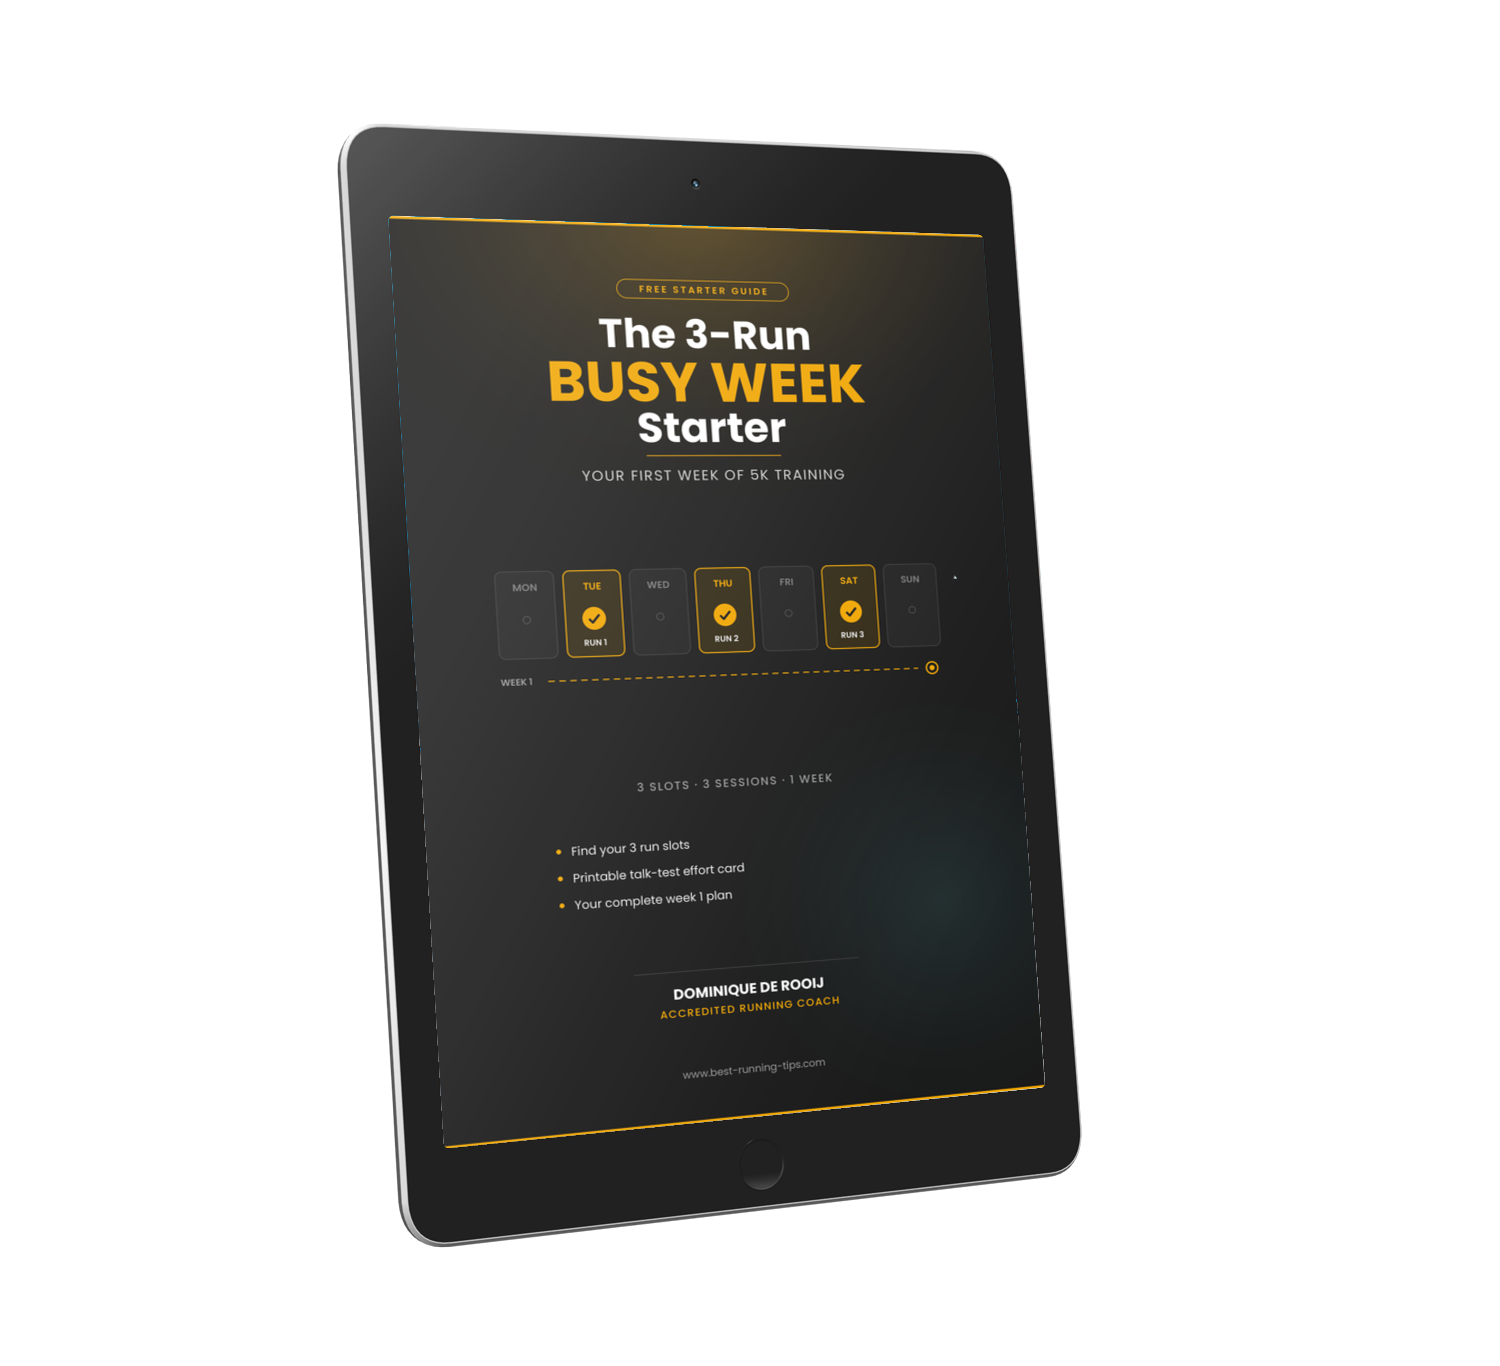
Free beginner guide • From Coach Dom
Start Running This Week, Even If Your Week Is Already Full
Most beginners don't quit for lack of motivation. They quit because their plan doesn't fit their life. The 3-Run Busy Week Starter plans your first week around the week you actually have.
- Find 3 run slots you can actually keep
- The talk test: the simple way to stop running too fast
- Your complete week 1 plan: 3 run/walk sessions, about 20 minutes each
You'll get the guide plus a short email every few days to help you through week 1. Unsubscribe any time. Privacy policy.
What's New?
-
Personalized Running Coaching - BRT | Run Smarter, Race Better
 Get a personalized running program built around your current fitness, goals, and schedule - not a generic app template. Choose from BRT Silver, Gold, or Platinum coaching with Dom, accredited running…
 -
Sample 4-Day Marathon Training Week: Base to Taper
A full 4-day-a-week marathon training schedule, phase by phase - base, build, peak, and taper - with named workouts and weekly mileage. -
Marathon Taper for a 10-12 Week Training Cycle
How to taper correctly on a compressed 10-12 week marathon plan - the right taper length, why standard advice doesn't fit, and the week-by-week structure.