Running in Bad Weather: Rain, Heat, and Cold Adjustments for Beginners
Bad weather rarely means skipping your run: in most cases you change your gear and slow your pace, then go anyway, and only thunderstorms, ice and a short list of named extremes should stop you. Below: rain, heat and cold covered with equal depth, a layering chart by temperature, a side-by-side pace comparison, what changes when conditions combine (cold rain, humid heat, windy cold), and a simple run-or-skip decision guide. Check the forecast the night before a scheduled run and the easy option is always to bail. I have coached beginners through all three conditions, often in the same week, and the ones who learn to adjust instead of cancel are the ones whose training stays on track.Running in Rain: Gear, Visibility, and Footing

Socks matter more than beginners expect. Choose wool or synthetic, never cotton — cotton stays wet against your skin, and that's exactly what raises your blister risk on a longer run.
Footing is where rain actually changes your technique. Shorten your stride slightly and drop your cadence a touch on wet pavement, painted road markings, and metal surfaces. Drain covers and crosswalk markings are the highest-slip-risk spots out there — beware them specifically, not just "wet ground" in general. If rain is cutting your daylight, or you're running into heavy overcast, add a light or a reflective layer. There's no separate pace penalty for rain beyond that footing caution — more on that in the side-by-side comparison below.
Running in Heat: Pacing, Hydration, and Timing

Hydrate before your run, not just during it. Drink in the hour or two beforehand, then keep sipping through the session. Starting your hydration late means you're already behind by the time you're sweating heavily.
Know your stop signs, and take them seriously: dizziness, nausea, confusion, or your sweating suddenly stopping. Any one of those means stop or walk immediately — don't push through to finish a set distance.
Time your run around the heat, not through it. Run early morning or evening in summer, and leave midday to the sun. It's the single easiest adjustment on this page, and it does more work than any piece of gear.
Running in Cold: Layering and Hidden Dehydration Risk

Here's a coaching correction I make constantly with winter beginners: cold weather blunts your thirst signal, even though you're still losing real fluid — through breathing cold, dry air, and through sweat trapped under your layers. You won't feel thirsty the way you do in summer, and that's exactly the trap. Hydrate on a schedule, not by thirst, whenever you're running in the cold.
Beware black ice specifically — it's often invisible until you're on it. And remember that cold months usually mean less daylight, so add visibility gear, a light or a reflective layer, if any part of your run happens in low light.
A Quick-Reference Layering Chart by Temperature
Rather than working out "dress warmer than it feels" for yourself every single time, use this as a quick reference. It's built from the 10 to 15°F rule above, translated into actual layers.| Temperature | What to Wear |
|---|---|
| 50–60°F | Long sleeve top and shorts |
| 40–50°F | Light jacket and tights |
| 30–40°F | Thermal layer, gloves, and a hat |
| Below 30°F | Full thermal layers and face protection |
Pace Adjustments by Condition, Side by Side
Instead of hunting back through three separate sections, here's every pace adjustment on this page in one place.| Condition | Pace Adjustment |
|---|---|
| Rain | No separate pace penalty — adjust cadence and stride for footing, not your overall pace |
| Heat | 20–40 sec/mile slower per 10°F above 60°F, humidity-adjusted |
| Cold | No fixed penalty — ease back by feel once it's genuinely cold |
When Conditions Combine: Cold Rain, Humid Heat, Windy Cold
This answers the question you're probably actually asking: why does today feel worse than the thermometer says?Cold rain shifts your layering rule one band colder than the chart above, because wet fabric loses its insulating power — dress for the temperature one band down from what the thermometer reads. Humid heat blunts your body's ability to cool itself through sweat evaporation, so base your pace adjustment on the heat index, the "feels like" number, not the plain air temperature. Windy cold behaves like a genuinely lower temperature for layering purposes — dress to the wind chill number, not the still-air reading on your weather app.
Run or Skip? A Simple Decision Guide
Here's where I tell a beginner athlete to skip, not adjust: lightning or thunderstorms, ice-covered surfaces, an active air quality alert, a heat index above 100°F combined with any warning sign from the heat section above, or wind chill below 0°F. Those are hard stops.Everything else on this page is an adjust-and-go condition, not a skip condition — that distinction matters, because "it's a bit miserable out" and "it's genuinely unsafe" are not the same call. On a hard-stop day, don't lose the session entirely. A treadmill, a stair session, or a short home workout keeps your consistency intact until conditions clear.
Frequently Asked Questions
Is it dangerous to run in a thunderstorm or heavy rain?
Thunderstorms and lightning are a hard stop. Heavy rain on its own generally isn't, though the footing caution above still applies.
What's the best time of day to run in summer heat?
Early morning or evening — leave the midday peak heat alone.
How do wet or icy surfaces change how I should run?
Shorten your stride and drop your cadence on wet pavement, painted lines, and drain covers. Ice is a hard-stop condition, not one you adjust for and run anyway.
Should I move my run indoors, or is outdoor running in bad weather still fine?
Outdoors is fine for the large majority of weather once you've adjusted gear and pace. Indoors is for the named hard-stop list only.
How do I know when weather conditions mean I should just skip the run?
Answered directly by the run-or-skip decision guide above — lightning, ice, air quality alerts, and the stated heat-index and wind-chill thresholds are the hard stops.
So: adjust for rain, heat, and cold rather than cancelling, check the layering chart and pace table when you're unsure, and save the skip decision for the named hard stops only.
Bad weather changes your plan for the run. It shouldn't cancel it. :)
For the rest of the fundamentals, head back to the full set of beginner running tips. If weather isn't the only thing derailing your schedule, see how to fit running into a busy or unpredictable schedule — and if a stretch of bad weather has already broken your routine, here's how to get back on track after a broken running streak.
Some Other Pages You May Like
About the author

Dominique de Rooij (Dom)
Advanced Running Coach certified by Athletics Australia with 20 years of writing about running and over a decade coaching runners — from first-timers to marathoners. Dom's beginner programs have guided thousands of runners and been praised above plans from Jeff Galloway, Hal Higdon, and Runner's World. Now over 50, Dom still loves trail running, parkrun, and the coffee after.
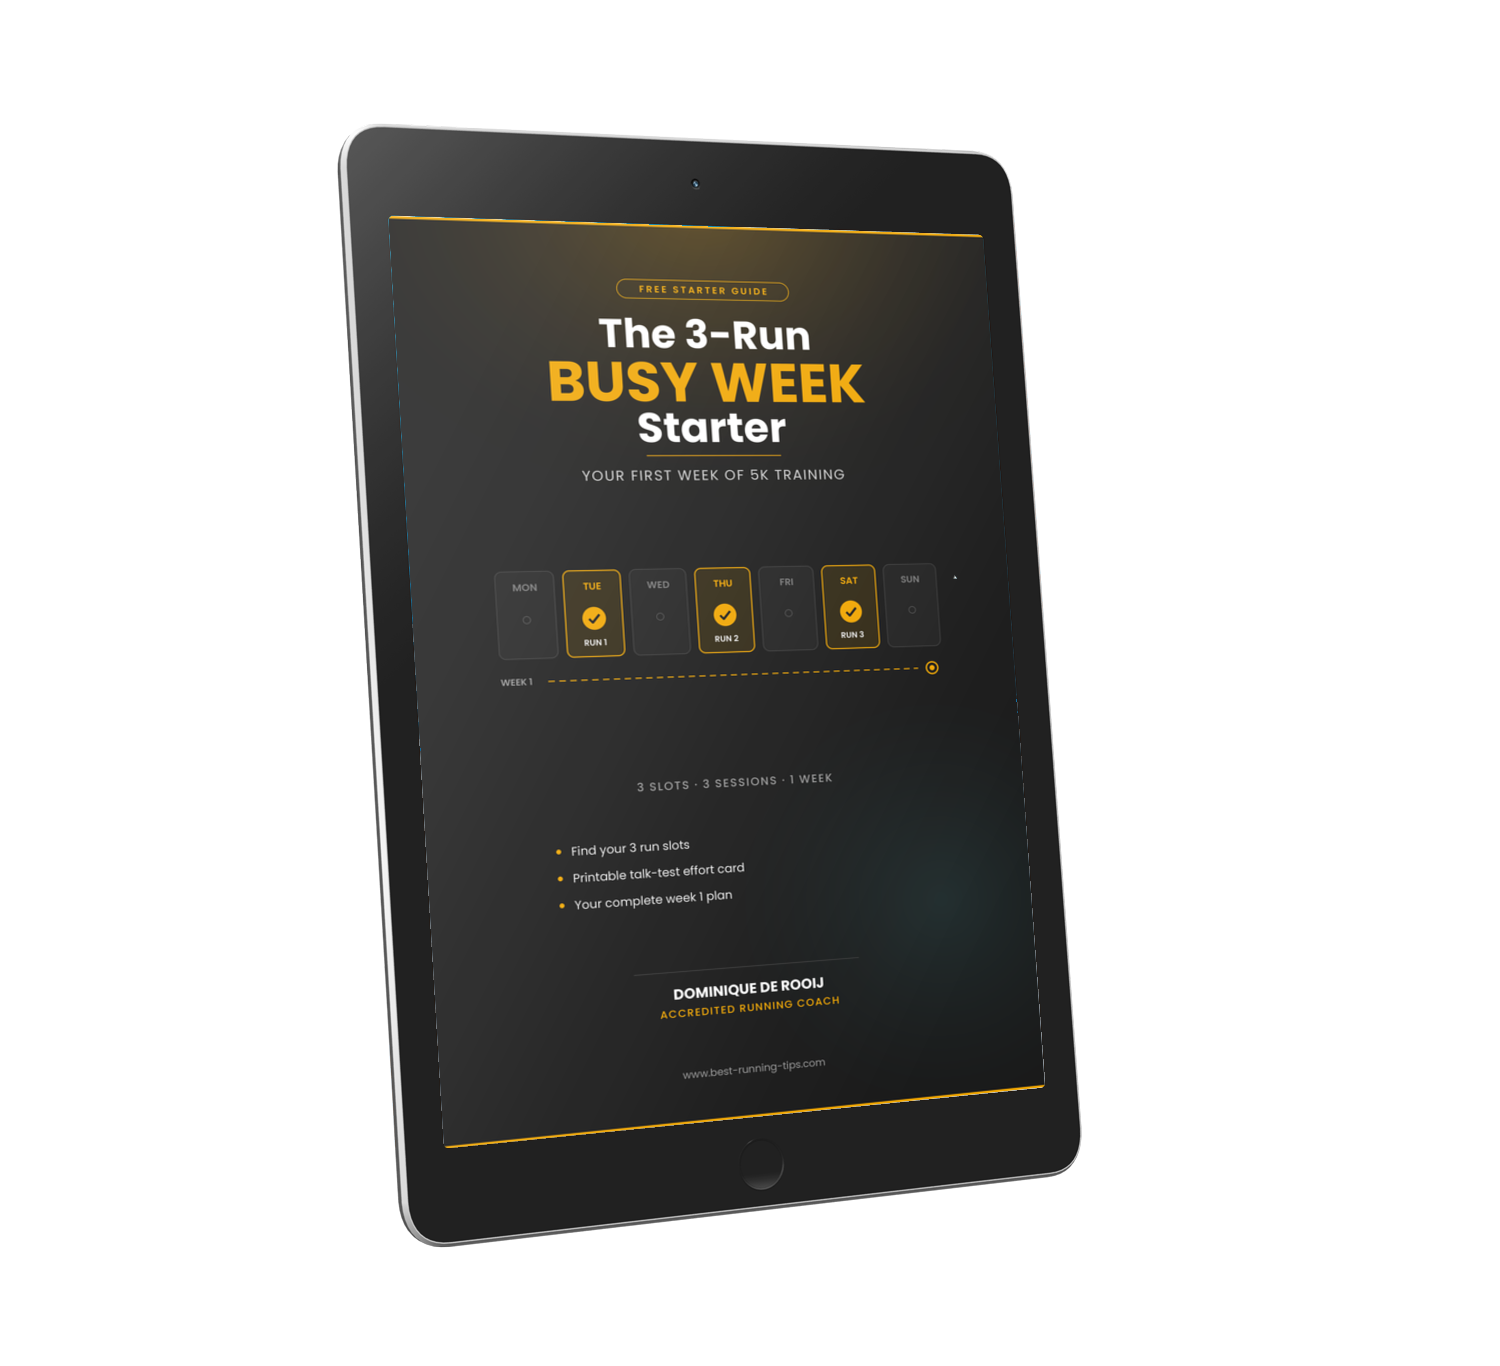
Free beginner guide • From Coach Dom
Start Running This Week, Even If Your Week Is Already Full
Most beginners don't quit for lack of motivation. They quit because their plan doesn't fit their life. The 3-Run Busy Week Starter plans your first week around the week you actually have.
- Find 3 run slots you can actually keep
- The talk test: the simple way to stop running too fast
- Your complete week 1 plan: 3 run/walk sessions, about 20 minutes each
I'll email you a link to confirm your address, then send the guide plus a short email every few days to help you through week 1. Unsubscribe any time. Privacy policy.
What's New?
-
Cut 90 Seconds Off Your 1.5 Mile Run for the Army Test
Cutting 90 seconds off a 1.5 mile run in 3-4 weeks for the Army test: Dom breaks down realistic pacing to reduce 10:32 toward sub-9:00 for Paras selection. -
Training for a 1.5 Mile Run - How to Qualify For Your Test
Coach Dom's 3-step plan for 1.5 mile run training: build aerobic base, add strides, then tempo and pace work to hit your test time. -
Improve Your 1.5 Mile Running Time to 10:30: Shin Splints
From 12:59 to 10:30 for 1.5 miles: Coach Dom's shin-splint fix and training plan to improve your running time in 2-3 months.